3. Using SSD as the System Disk
This chapter will guide you on how to configure an M.2 NVMe SSD as the primary system disk for your Raspberry Pi 5, enabling you to boot and run the system from the SSD.
Important
Before starting, ensure you have completed Steps 1 through 4 from the previous chapter “2. Using SSD as Expanded Storage (SD Card + SSD)”, including:
* Modifying the boot configuration (/boot/firmware/config.txt)
* Correctly installing the M.2 adapter and SSD
* Confirming the system recognizes the SSD (using lspci and lsblk)
* Formatting the SSD with the ext4 filesystem (using mkfs.ext4)
Do not perform Step 5 (Mounting the SSD) or Step 6 (Testing Speed) from the previous chapter.
Step 1: Enable and Connect VNC
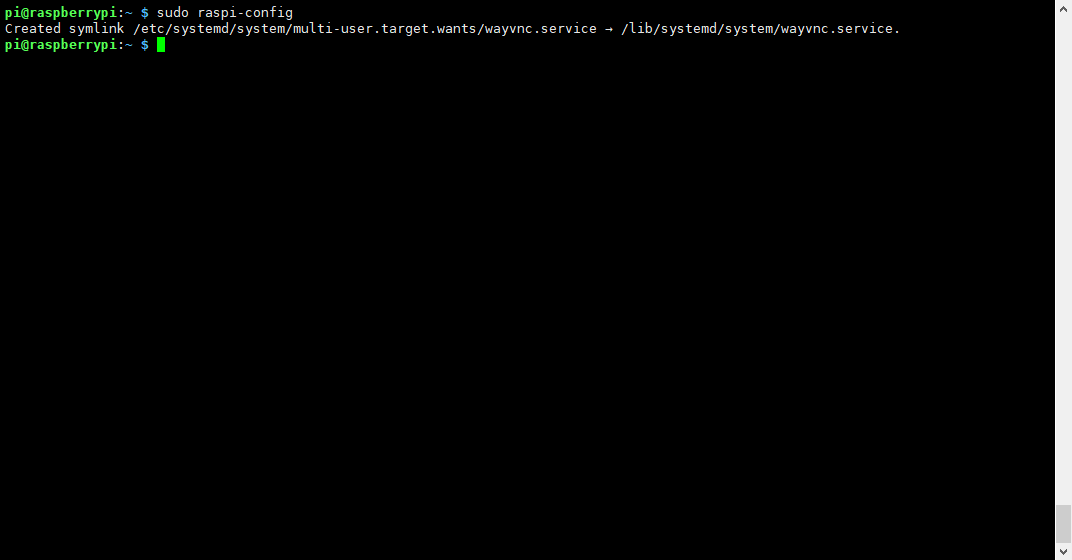
If you haven’t enabled the VNC server yet, enable it via
raspi-configor the desktop environment’s settings. * Entersudo raspi-configin the terminal * SelectInterface Options->VNC->Yes.Using a VNC Viewer client or similar software, connect to the Raspberry Pi’s desktop environment from your computer.

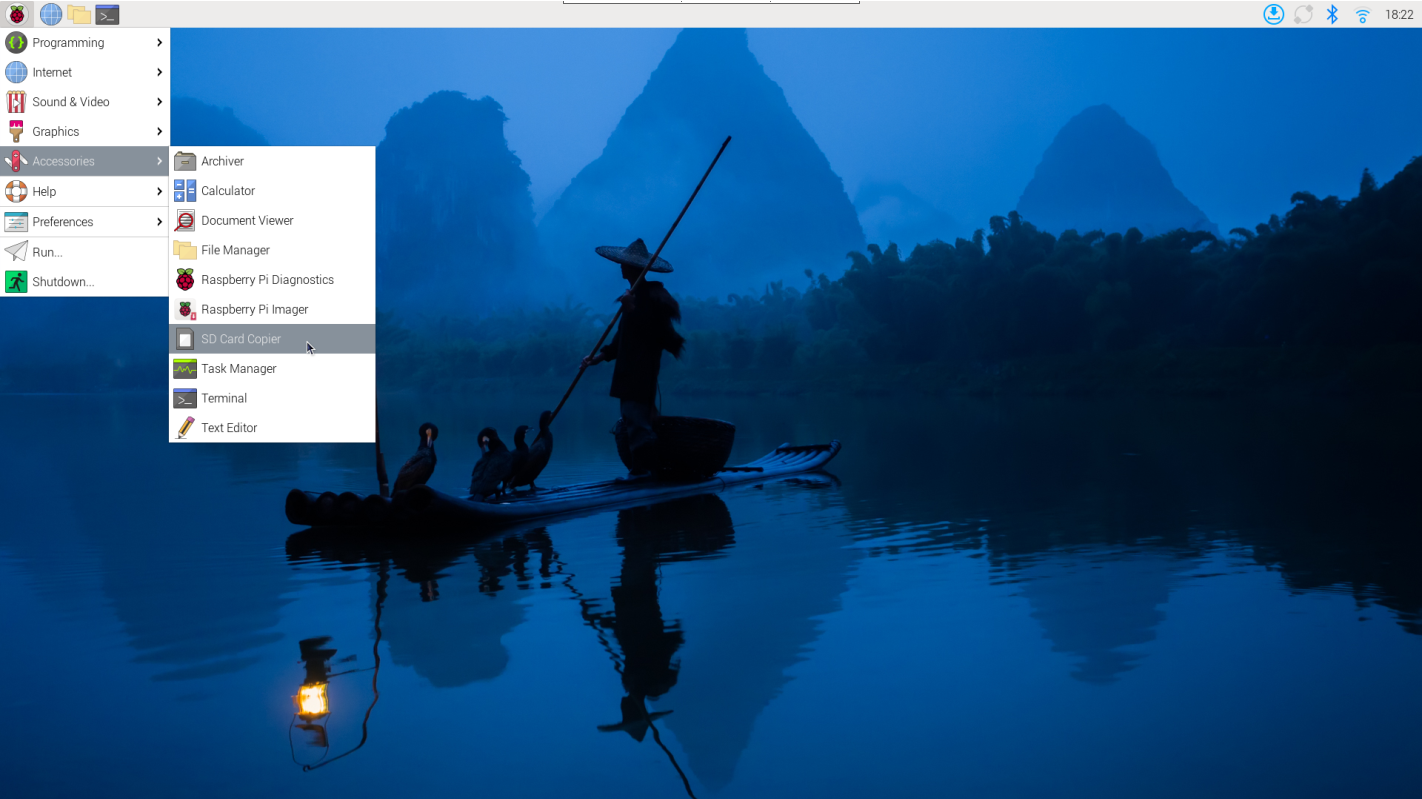
Step 2: Copy the System using SD Card Copier
In the Raspberry Pi’s desktop environment, find and open the “SD Card Copier” tool (usually under the “Accessories” menu).
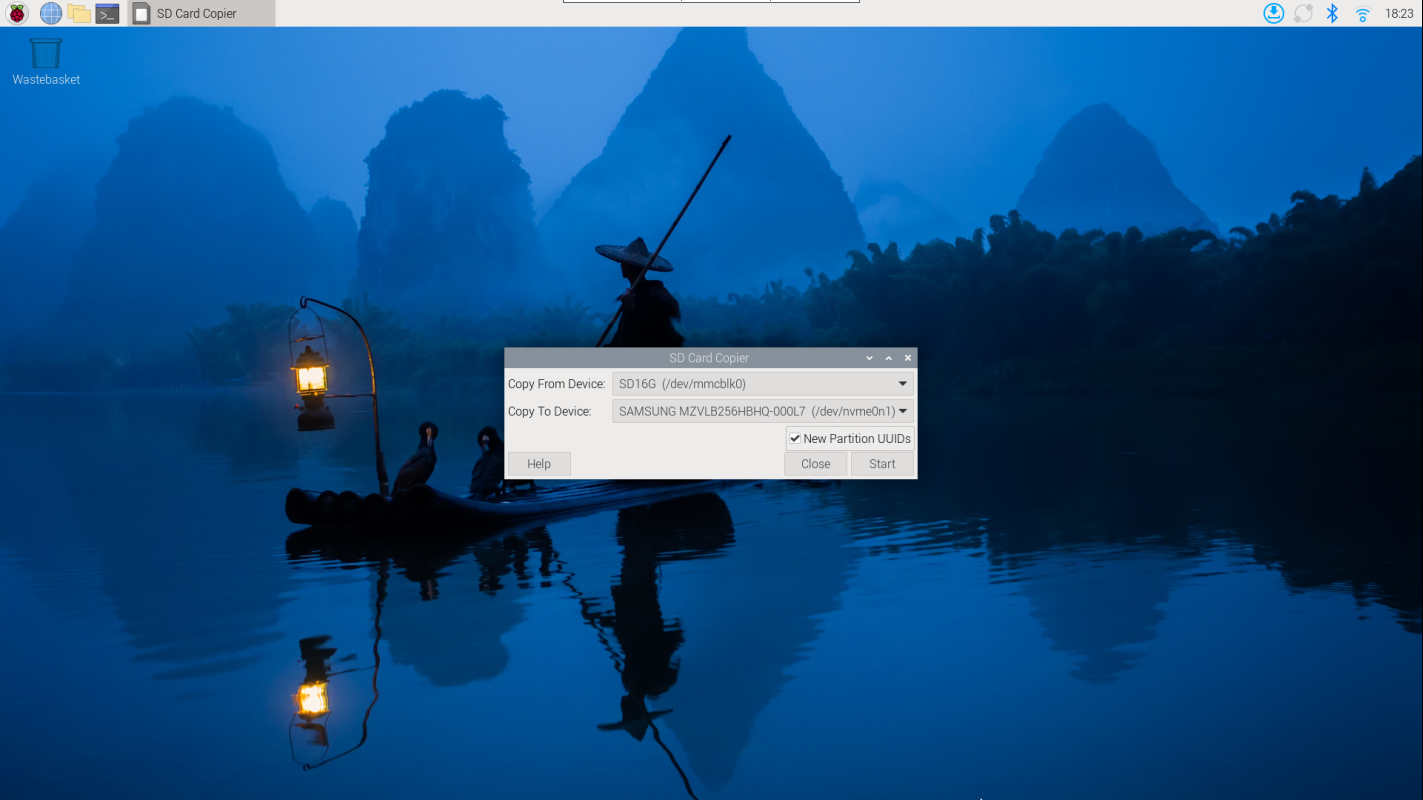
In the “Copy From Device” dropdown menu, select your SD card device (usually
/dev/mmcblk0).In the “Copy To Device” dropdown menu, select your NVMe SSD device (e.g.,
/dev/nvme0n1).Make sure to check the “New Partition UUIDs” option. This is crucial to avoid partition UUID conflicts during boot.
Click the “Start” button to begin the copying process. This may take some time, depending on the size and speed of your SD card.
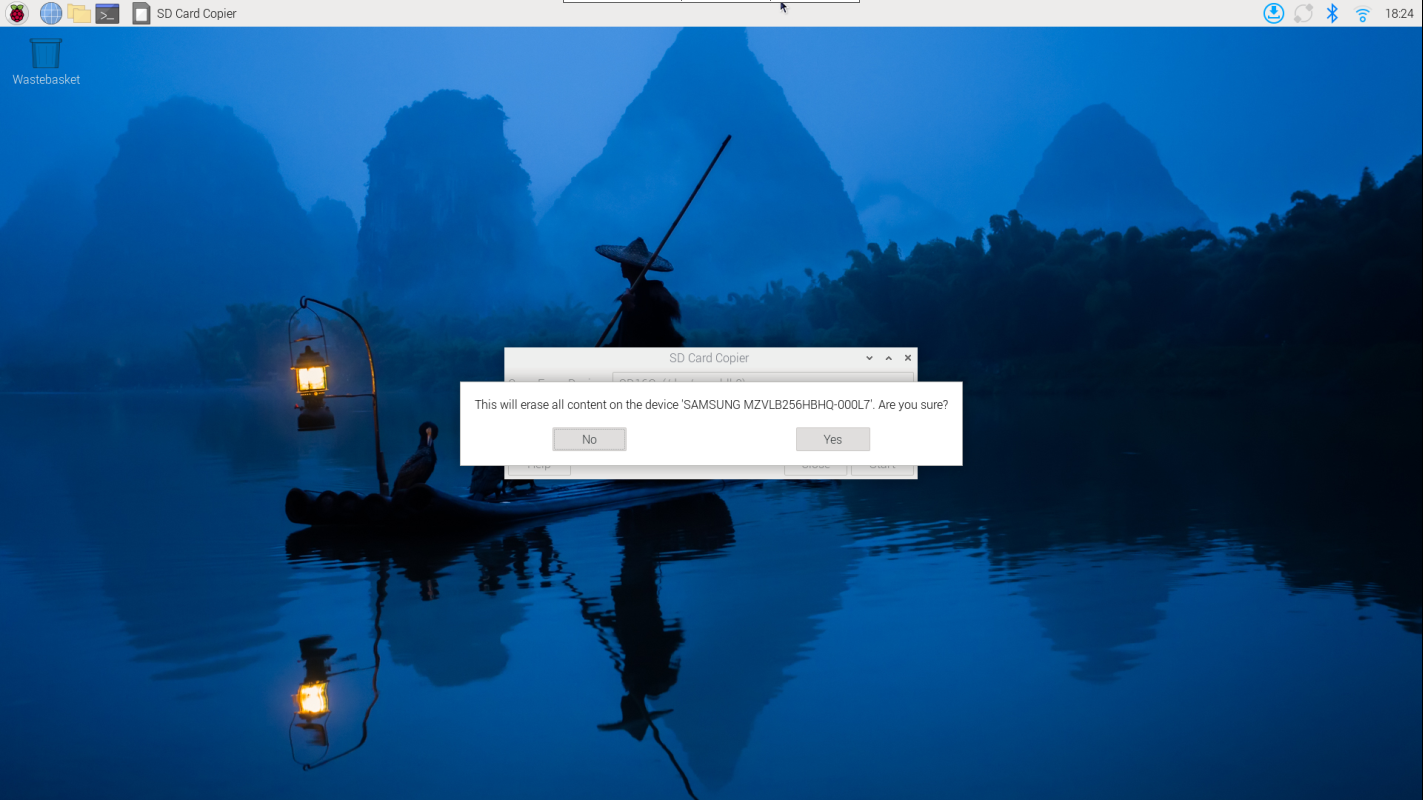
Wait for the copy process to complete.
Step 3: Modify EEPROM Boot Configuration
After the copy is complete, maintain the VNC connection or switch back to an SSH terminal.
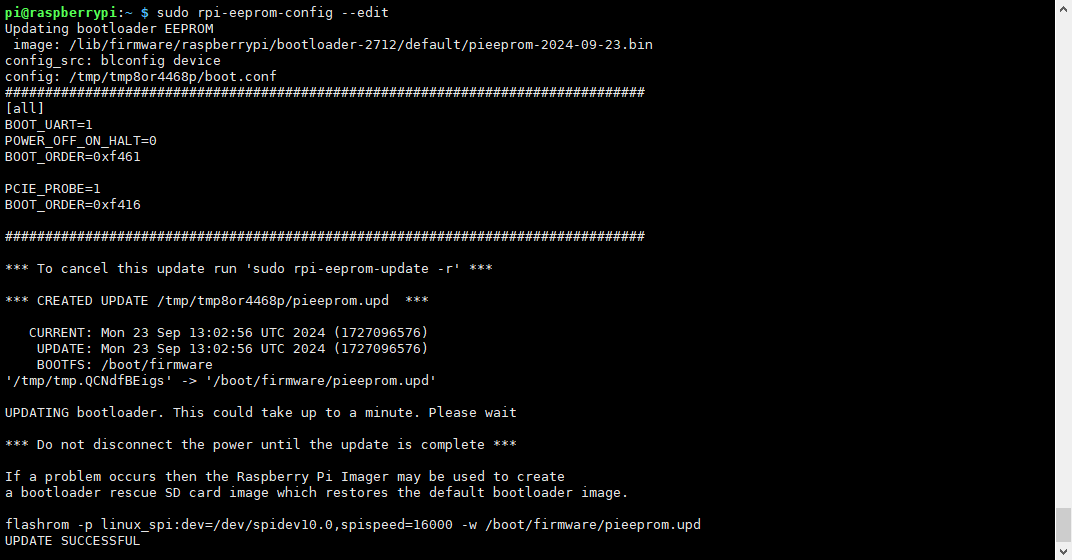
Execute the following command to edit the EEPROM configuration:
sudo rpi-eeprom-config --edit
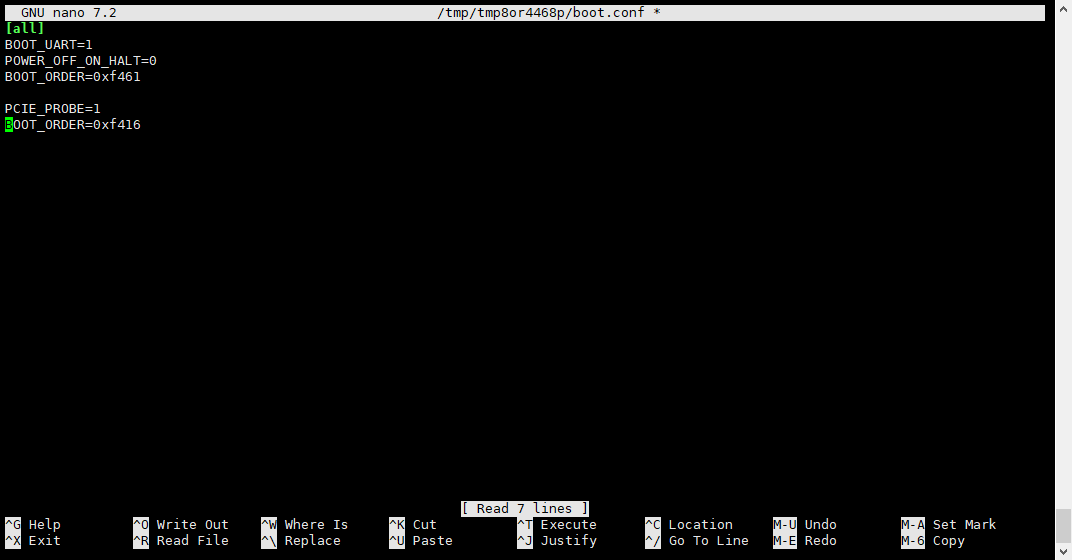
Check the file content and ensure it includes the following two lines. If they don’t exist, add them:
PCIE_PROBE=1
BOOT_ORDER=0xf416
PCIE_PROBE=1ensures PCIe devices are probed at boot.BOOT_ORDER=0xf416sets the boot order: Try NVMe SSD (6) first, then SD card (1), then USB (4), and finally network boot (f) if all else fails.
Press
Ctrl+X, thenY, and finallyEnterto save and exit.
Step 4: Boot from SSD
Power off the Raspberry Pi 5.
Remove the SD card.
Reconnect the power.
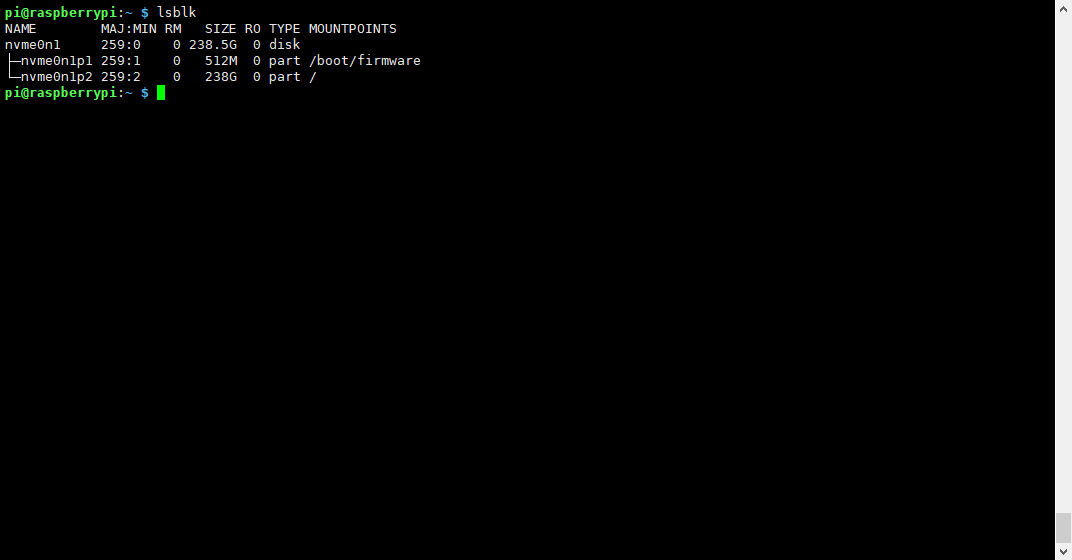
The Raspberry Pi should now attempt to boot from the NVMe SSD. If everything is successful, the system will load and run from the SSD. You can confirm if the root filesystem (/) is on the NVMe device (e.g., /dev/nvme0n1p2) using the lsblk or df -h command.
Note
If you encounter boot issues, you can try reinserting the SD card to check the EEPROM configuration and the filesystem on the SSD.